We haven't posted in a long time. It is not that the work doesn't continue but 1) just coping with winter takes a lot of time, 2) much of the work we are doing is repetitive of work we have done before so it doesn't show anything different, and 3)we've gotten out of the habit of taking pictures so we don't have much to show. We had a surprise visit last week from a couple (Brent and Claudia Watson). They have followed our blog and were taking a road trip and decided to stop by and see it. So what has happened?
The snow is now all gone. The deer come less frequently--probably because there is more food available. Also, a neighbor reports that she has seen an injured deer and reports poaching. Also, we've seen neighbor dogs chase the deer when they come into the neighborhood.
ABOVE: Our "deer friends" and some of the last of the winter's snow.
BELOW: Don finally got around to designing and building the "returns" for the stair handrails, after bumping his head on them while picking up firewood from the wood bin. They'll be painted, eventually.
One of the reasons we moved here. We get simply unbelievable panoramas like this all the time.
Don added trim around the front entryway flooring. Besides covering the raw edges of the flooring, it also helps keep dirt and dust out of the house. The brown, faux wood flooring shows the dirt much worse than the lighter, faux marble flooring.
Don started the coat closet project by putting up drywall on the top of the closet walls, but plywood on the bottom, so he'd have wood to nail the cedar lining to.
Now the cedar tongue-and-groove strips are mounted, one wall at a time, leaving gaps at the ends for the cedar on the side walls.
Gluing and nailing up the cedar strips. It's slow going. The entire project took a week, as each strip had to be measured and cut to fit separately, hopefully without splitting the fragile cedar.
With all the cedar in place, Don cut and fit top rails and corner beads. Each had to be carved by hand at the ends to fit.
Don finished the closet with a coat rail and two shelves above it, but has not installed a door yet. All interior doors will be purchased at once and hauled home in the trailer, to avoid ruinous delivery charges, as soon as we have some place to store them upstairs, and have finished texturing and painting the ceiling there. "Chinese puzzle."
Don is moving the dirt-filled grow box so the predominant winds from east and west hit the ends. Barbara has some heavy duty fabric she plans to staple onto the ends to create a wind-break. The wind out here in the summertime can be very destructive to garden plants.

We hired a neighbor man to do taping and mudding of the ceiling upstairs. Don doesn't like to do it and Barbara has trouble with the height and it hurts her back to work overhead. Don textured a part of the ceiling that was finished. Barbara is taping and mudding the walls in the same area. She wants to get it painted, have the flooring installed and then put up bookcases so we can empty out multitudes of boxes full of books. Barbara emptied out one of the closets upstairs so Don could finish dry walling it. Barbara then taped and mudded that closet and then re-sorted items so other areas of the room could be worked on. There is now only one closet that hasn't been dry-walled. That closet contains many of the boxes we had in storage. Once the bookshelves are up, we'll have access to the other boxes in the closet and either empty them out or temporarily store them elsewhere while we finish that closet. It begins to feel like we might actually get the house done some day.

.
Here, Don is taping around windows in the living room area before trimming and painting the walls.
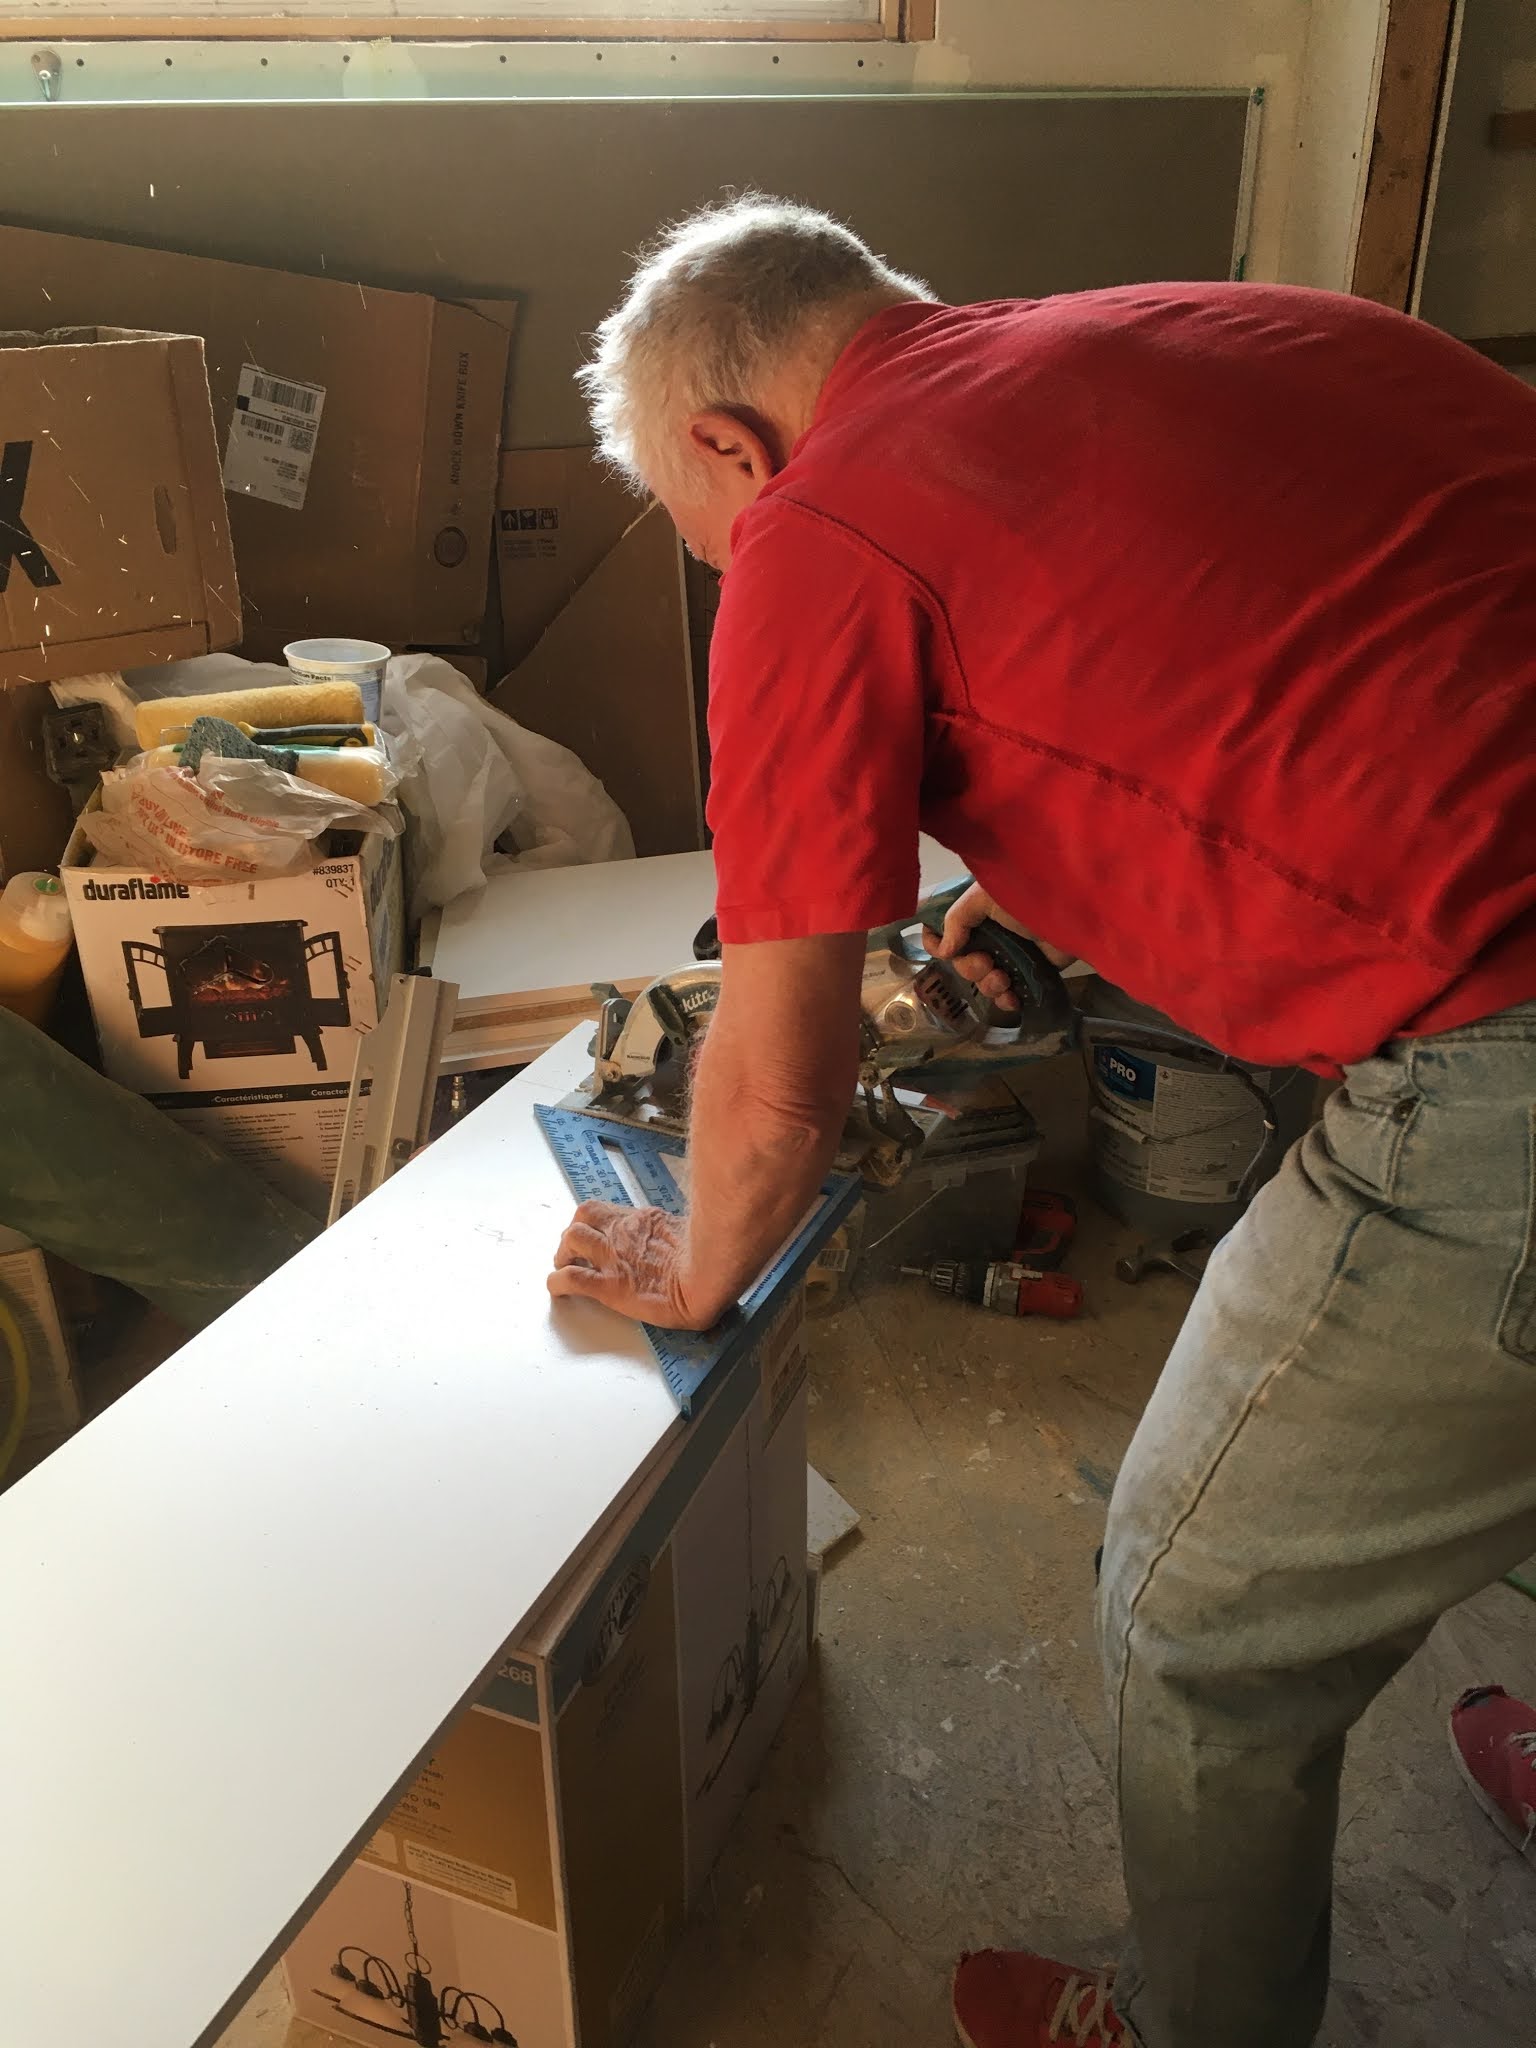
Trimming out the dining room window. With the floor finished, Don is keeping his miter saw upstairs, so he has to haul each piece of wood upstairs to cut the miter on one end, downstairs to check the fit, upstairs again to cut the other end, downstairs again to recheck the fit, upstairs AGAIN to re-cut it, and downstairs to install it. For EACH piece. He says he's getting good exercise.
The south facing picture window is his next project.
Ta-Da!
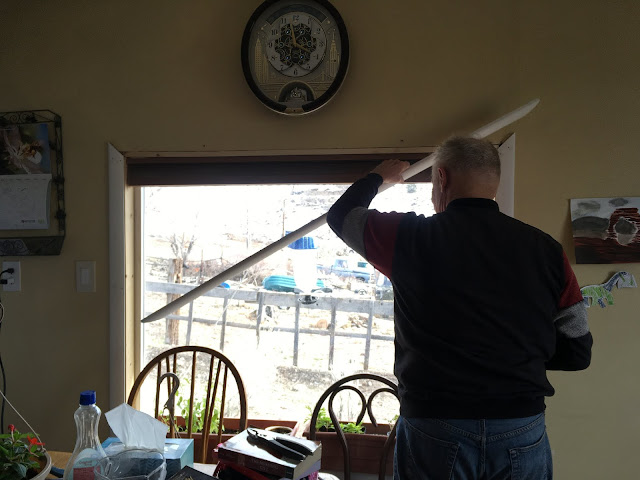
After covering up the hook holes with the trim, Don had to re-locate the hooks for the flower pots. Everything you do creates more work.
Barbara wants to get the bedroom finished, so we'll have someplace to sleep when the grandchildren come to visit this summer, so Don has started building the linen closet. He had exactly enough 2x4s on hand to complete it.
Don "learned his lesson" about leaving the miter saw upstairs, so for this project, he brought it downstairs. After drawing the plan of the closet on the floor and the ceiling, Don cuts the 2x4s to the right length.
With the wood all cut, Don checks for fit by "building" the closet structure in place temporarily, tacking the uprights in place.
Next, he fits the cross members. these boards are just to hold the drywall up, so they don't have to be as strong as the house framing.
With the framing in place, Don can compare the actual sizes and angles with those drawn on the floor and the ceiling. The cross members (top plates) have been stacked at the bottom of the wall. It's just their thickness that he's testing, so it doesn't matter whether they're on the top or the bottom of the wall, and it's a LOT easier to do this way. He'll put them in the right place when he actually builds the wall. The clamps are just to hold things in place while he measures.

Most of these 2x4s are recycled wood he got from the movie set where he works. Here he's scraping styrofoam set materials from the wood. It comes off easily with a sharpened putty knife.
Building the frame for the front wall of the closet. Even though the wall is not technically load-bearing, Don built a beam over the doorway. One reason this house is so strong is that Don likes to over-build everything. He likes to quote his dad, Josh Fallick, who said, "If you don't have time to do it right the first time, how will you ever find the time to do it over?"
BELOW: The completed front wall structure, ready to be stood up and nailed in place.

Lifting the wall up and sliding it into place. The short stub wall at the left does not leave enough room to swing a hammer or even use a screwdriver, so Don had to attach the stud at the left to the wall first, then slide the rest of the wall up to it. That's why part of the closet wall frame is already attached to the bedroom wall in this photo below.
It's a really tight fit. Don had to move the wall the last few inches with a sledge hammer.
After banging on the wall with a sledge hammer, you'd better check it for plumb and square before nailing it in place. If you don't, and there's a problem, you'll have to destroy the wall frame to get it out. It checked out perfect!
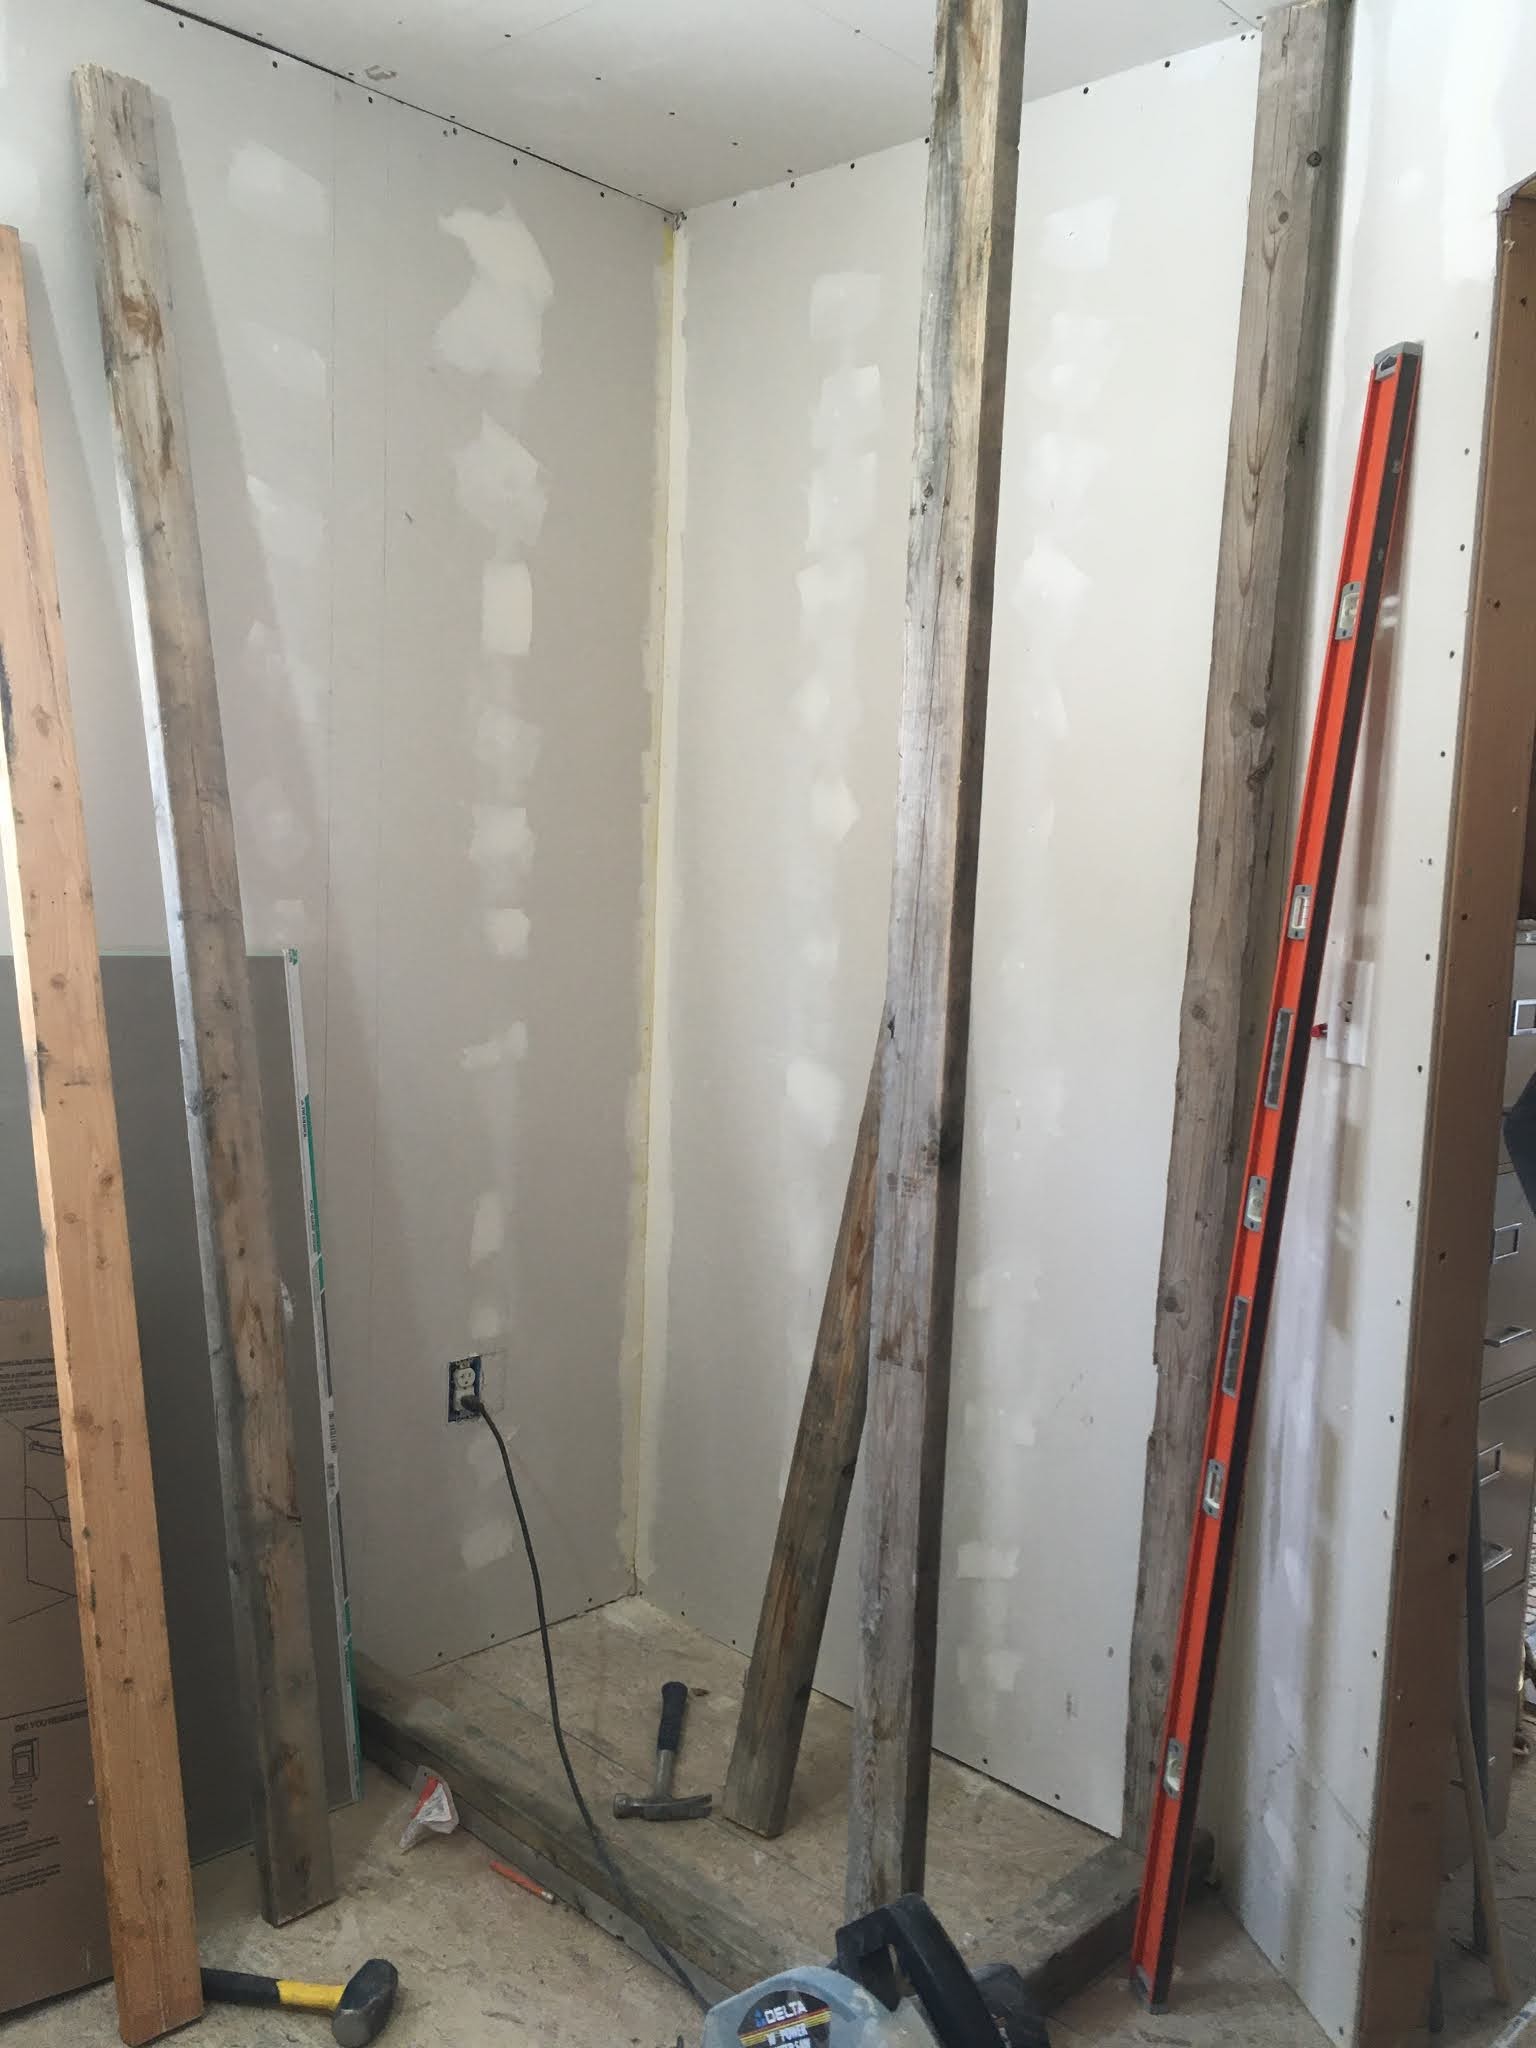
The end wall was much simpler and went up easily. Here, Don is attaching drywall. With snow on the ground outside, Don doesn't want to make the 45 mile trip to The Home Depot, pulling a trailer, to get a few sheets of drywall. He has just enough on hand to finish the job.
Almost finished!
And done! Ready to install shelves and doors.
The doors will wait for another day.
With nice weather here at last, Barbara gets some "professional" help from grandchildren, painting her grow-box. The other grow-box is treated cedar but this one was pine leftover from The Chosen set when they filmed at the studio. It will not weather well so we are extending its life with paint.
Meanwhile, Don has got started laying flooring upstairs. Before installing finish floor, Don has to cover the rough sub-floor
with smooth 1/2" plywood. With the current, high price of plywood, this
costs more than the finish floor.

Bookshelves will be against this wall.
Don is putting the molding on the finished area.
The molding is finished.
A friend made us this rug. The light color is from a sheet that has pastel pinks, purples, blues and yellow. The wall is painted a pastel green. Barbara had chosen a green-gray for the moulding. but then she had buyers remorse when our friend brought the rug over. She decided to go with the bolder dark green which matches the rug.


Comments
Post a Comment